Server setup
Want to run your own Skapersøk server? This guide covers three ways to get the backend running.
Installation
Choose the installation method that best fits your environment.
Download the latest installer from the releases page.
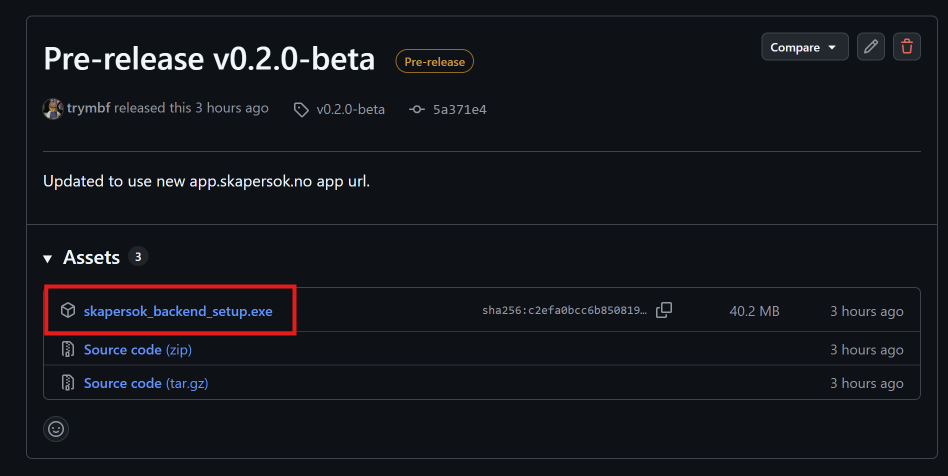
Run the installer and follow the instructions.
1. Prerequisites
- Python
- uv (recommended) or plain
pip
2. Install dependencies
With uv (recommended — also creates the virtual environment for you):
uv sync
With plain pip:
python3 -m venv .venv
source .venv/bin/activate      # Windows: .venv\Scripts\Activate
pip install --upgrade pip
pip install .
3. Configuration
The server runs with defaults, but review config/.env and set production values explicitly rather than relying on defaults.
4. Start the server
uv run python main.py
or, with plain pip and an activated venv:
python main.py
This runs startup checks, creates missing folders and configuration, starts the discovery beacon, and launches the API. It also opens your browser by default; set AUTOOPEN_BROWSER=false in config/.env to disable this.
5. Verify the server is up and running
curl http://127.0.0.1:5000/ping
Expected response:
{"message": "pong"}
Note: Opening the browser automatically is disabled by default when using Docker.
1. Prerequisites
- Docker and Docker Compose installed
- Linux host recommended (see note on the discovery beacon below)
2. Clone the repository
git clone https://github.com/Skapersok/skapersok_backend
cd skapersok-backend
3. Start the server
On Linux:
docker compose up -d
On Windows:
docker compose -f docker-compose.yml -f docker-compose.windows.yml up -d
This builds the image, creates the required folders, and starts the server.
Check that it is healthy:
docker compose ps
curl http://localhost:5000/ping
4. Set a few things before going to production
The server runs with defaults, but review config/.env and set production values explicitly rather than relying on defaults.
5. Updating
git pull
docker compose build
docker compose up -d
If you only edit config/.env, restart the containers with:
docker compose up -d
No rebuild required — config changes take effect on container restart.
Which data persists across restarts and rebuilds
./data— databases, images, backups./config—.envsettings, IDs and secrets
Both are bind-mounted from the host, so docker compose down and even docker compose build will not touch them. Only deleting these folders yourself will reset the app to a fresh state.
Setup
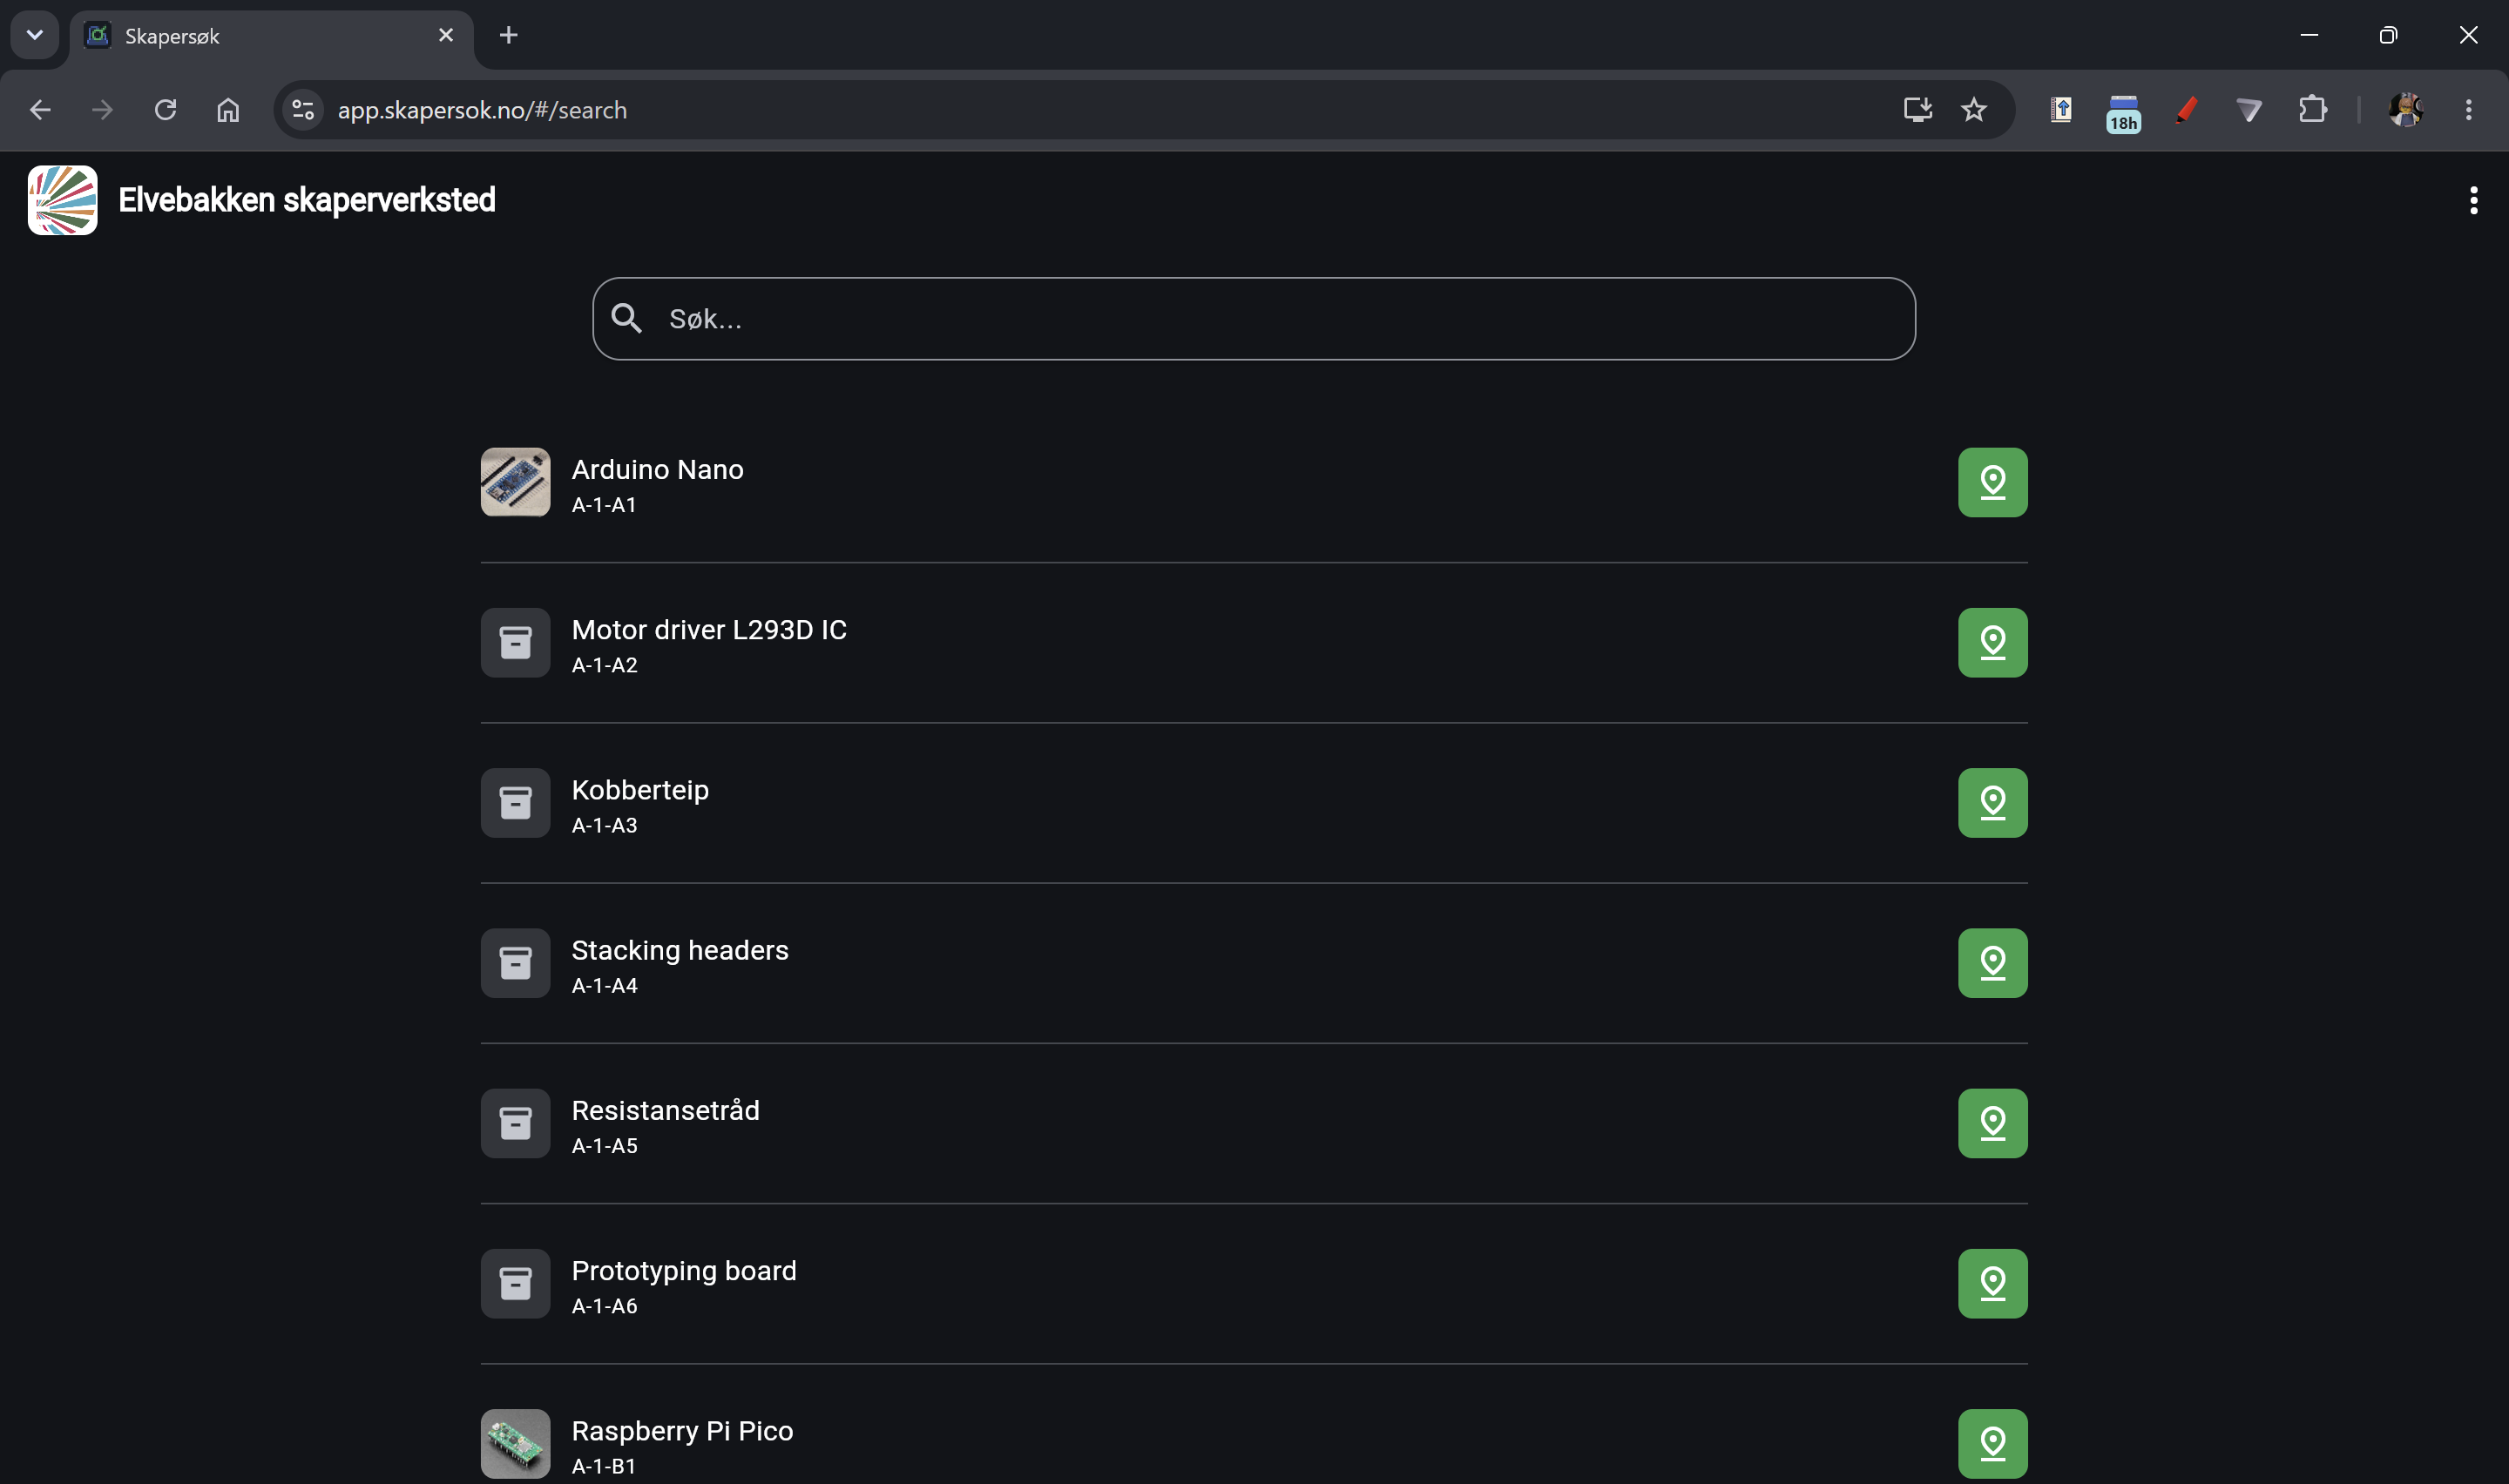
After the server starts, the web app should open automatically and connect to it.
You should also have a terminal window showing information about the server:
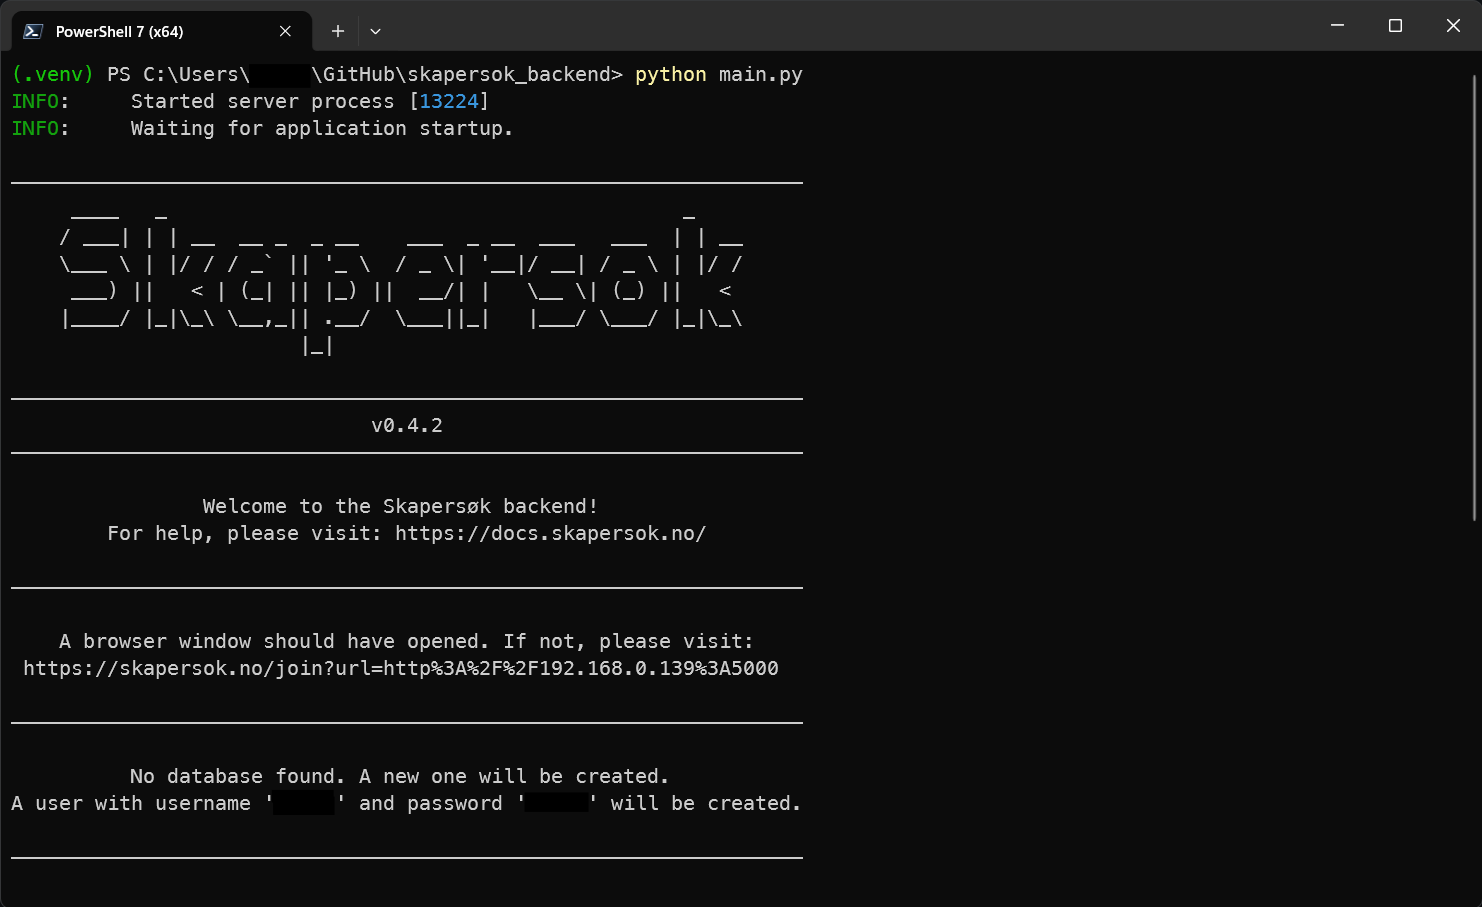
This may look terrifying, but don't worry, you won't need to touch the terminal, everything is managed from the web app.
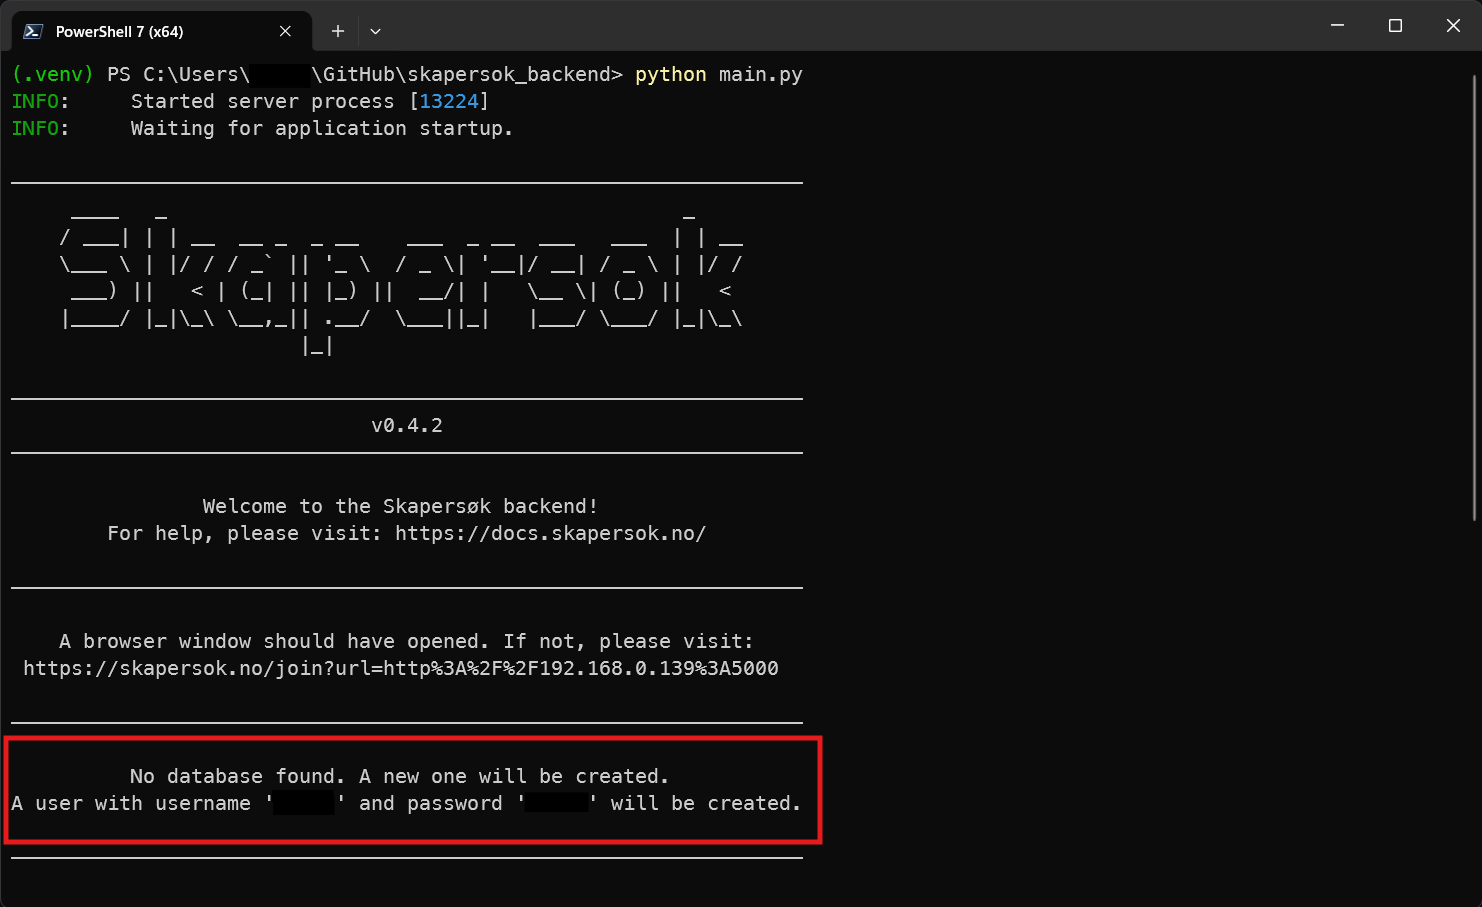
Admin credentials
You can log in to the admin panel with the credentials you see in the terminal window:
Stopping the server
Stop the server by closing the terminal window or pressing Ctrl+C in the terminal.
Help
If you run into issues, check the troubleshooting guide or contact us.