Creating a new crate
You can create a new crate anywhere in your inventory hierarchy.
Before you begin
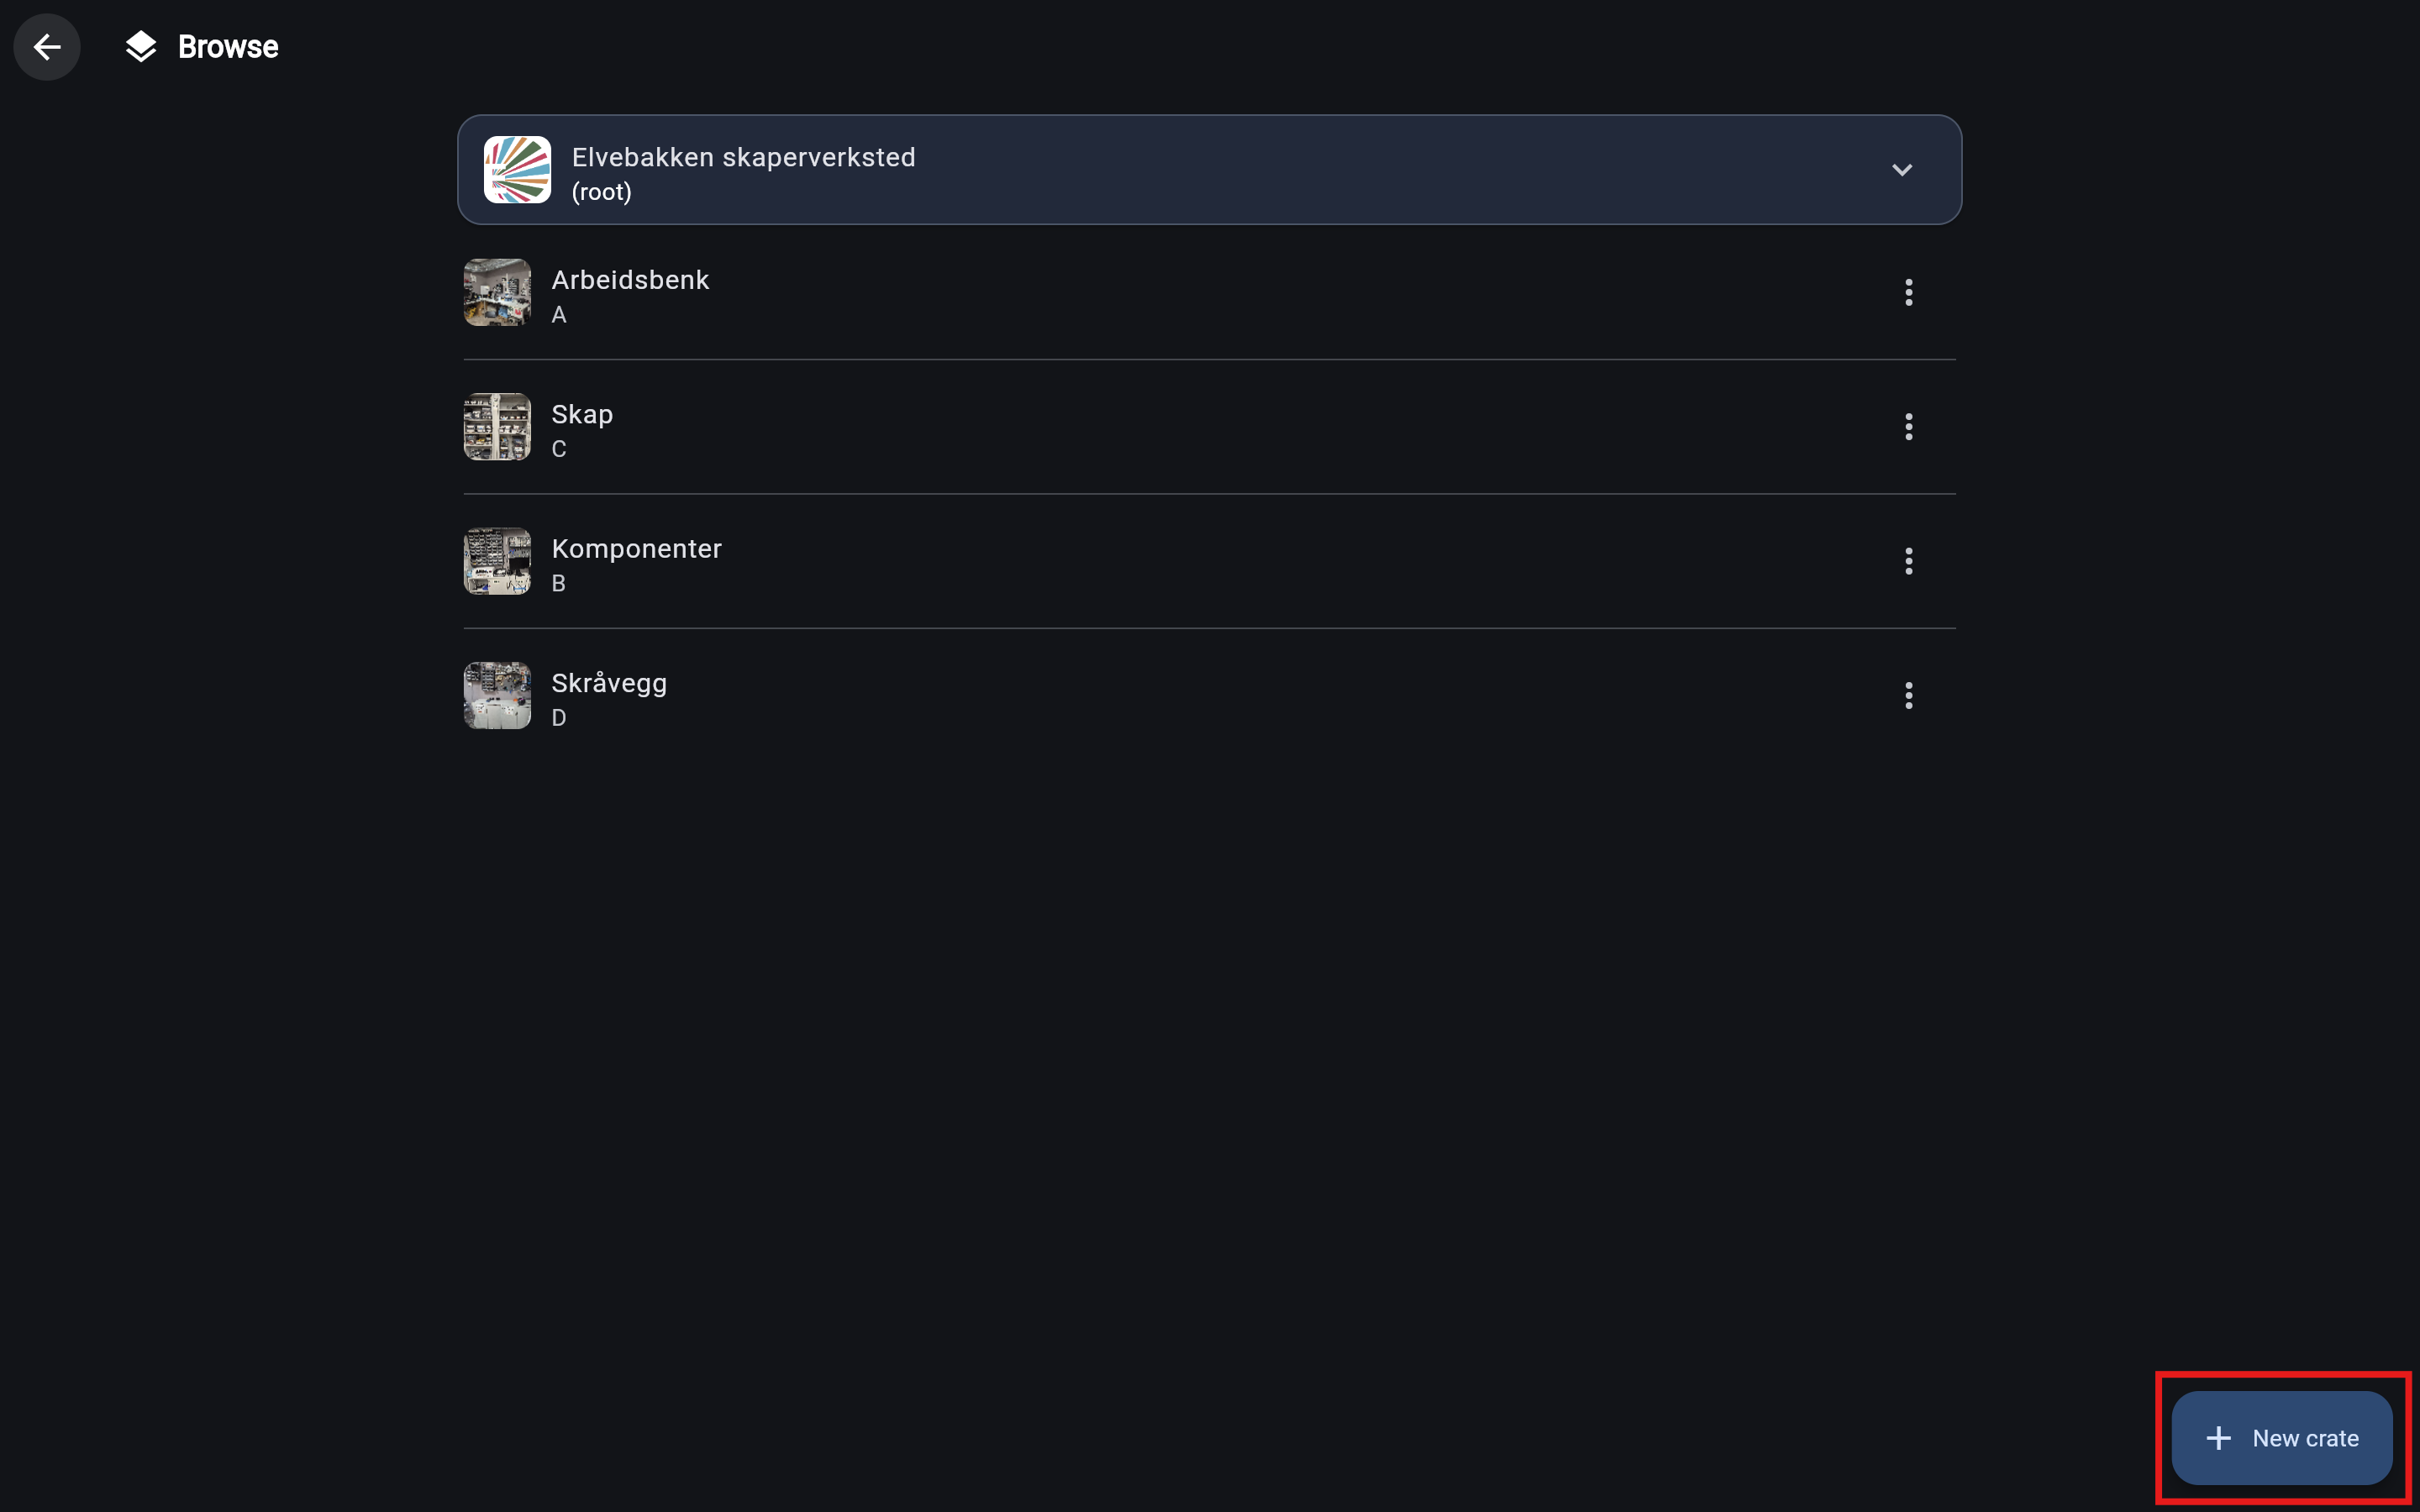
Navigate to the Browse page.
New crates are created inside your current location. For example, if you want to add a new drawer inside "Arbeidsbenk", make sure you have opened "Arbeidsbenk" before clicking New crate.
The Creation Wizard
Click New crate in the bottom-right corner to open the creation wizard.
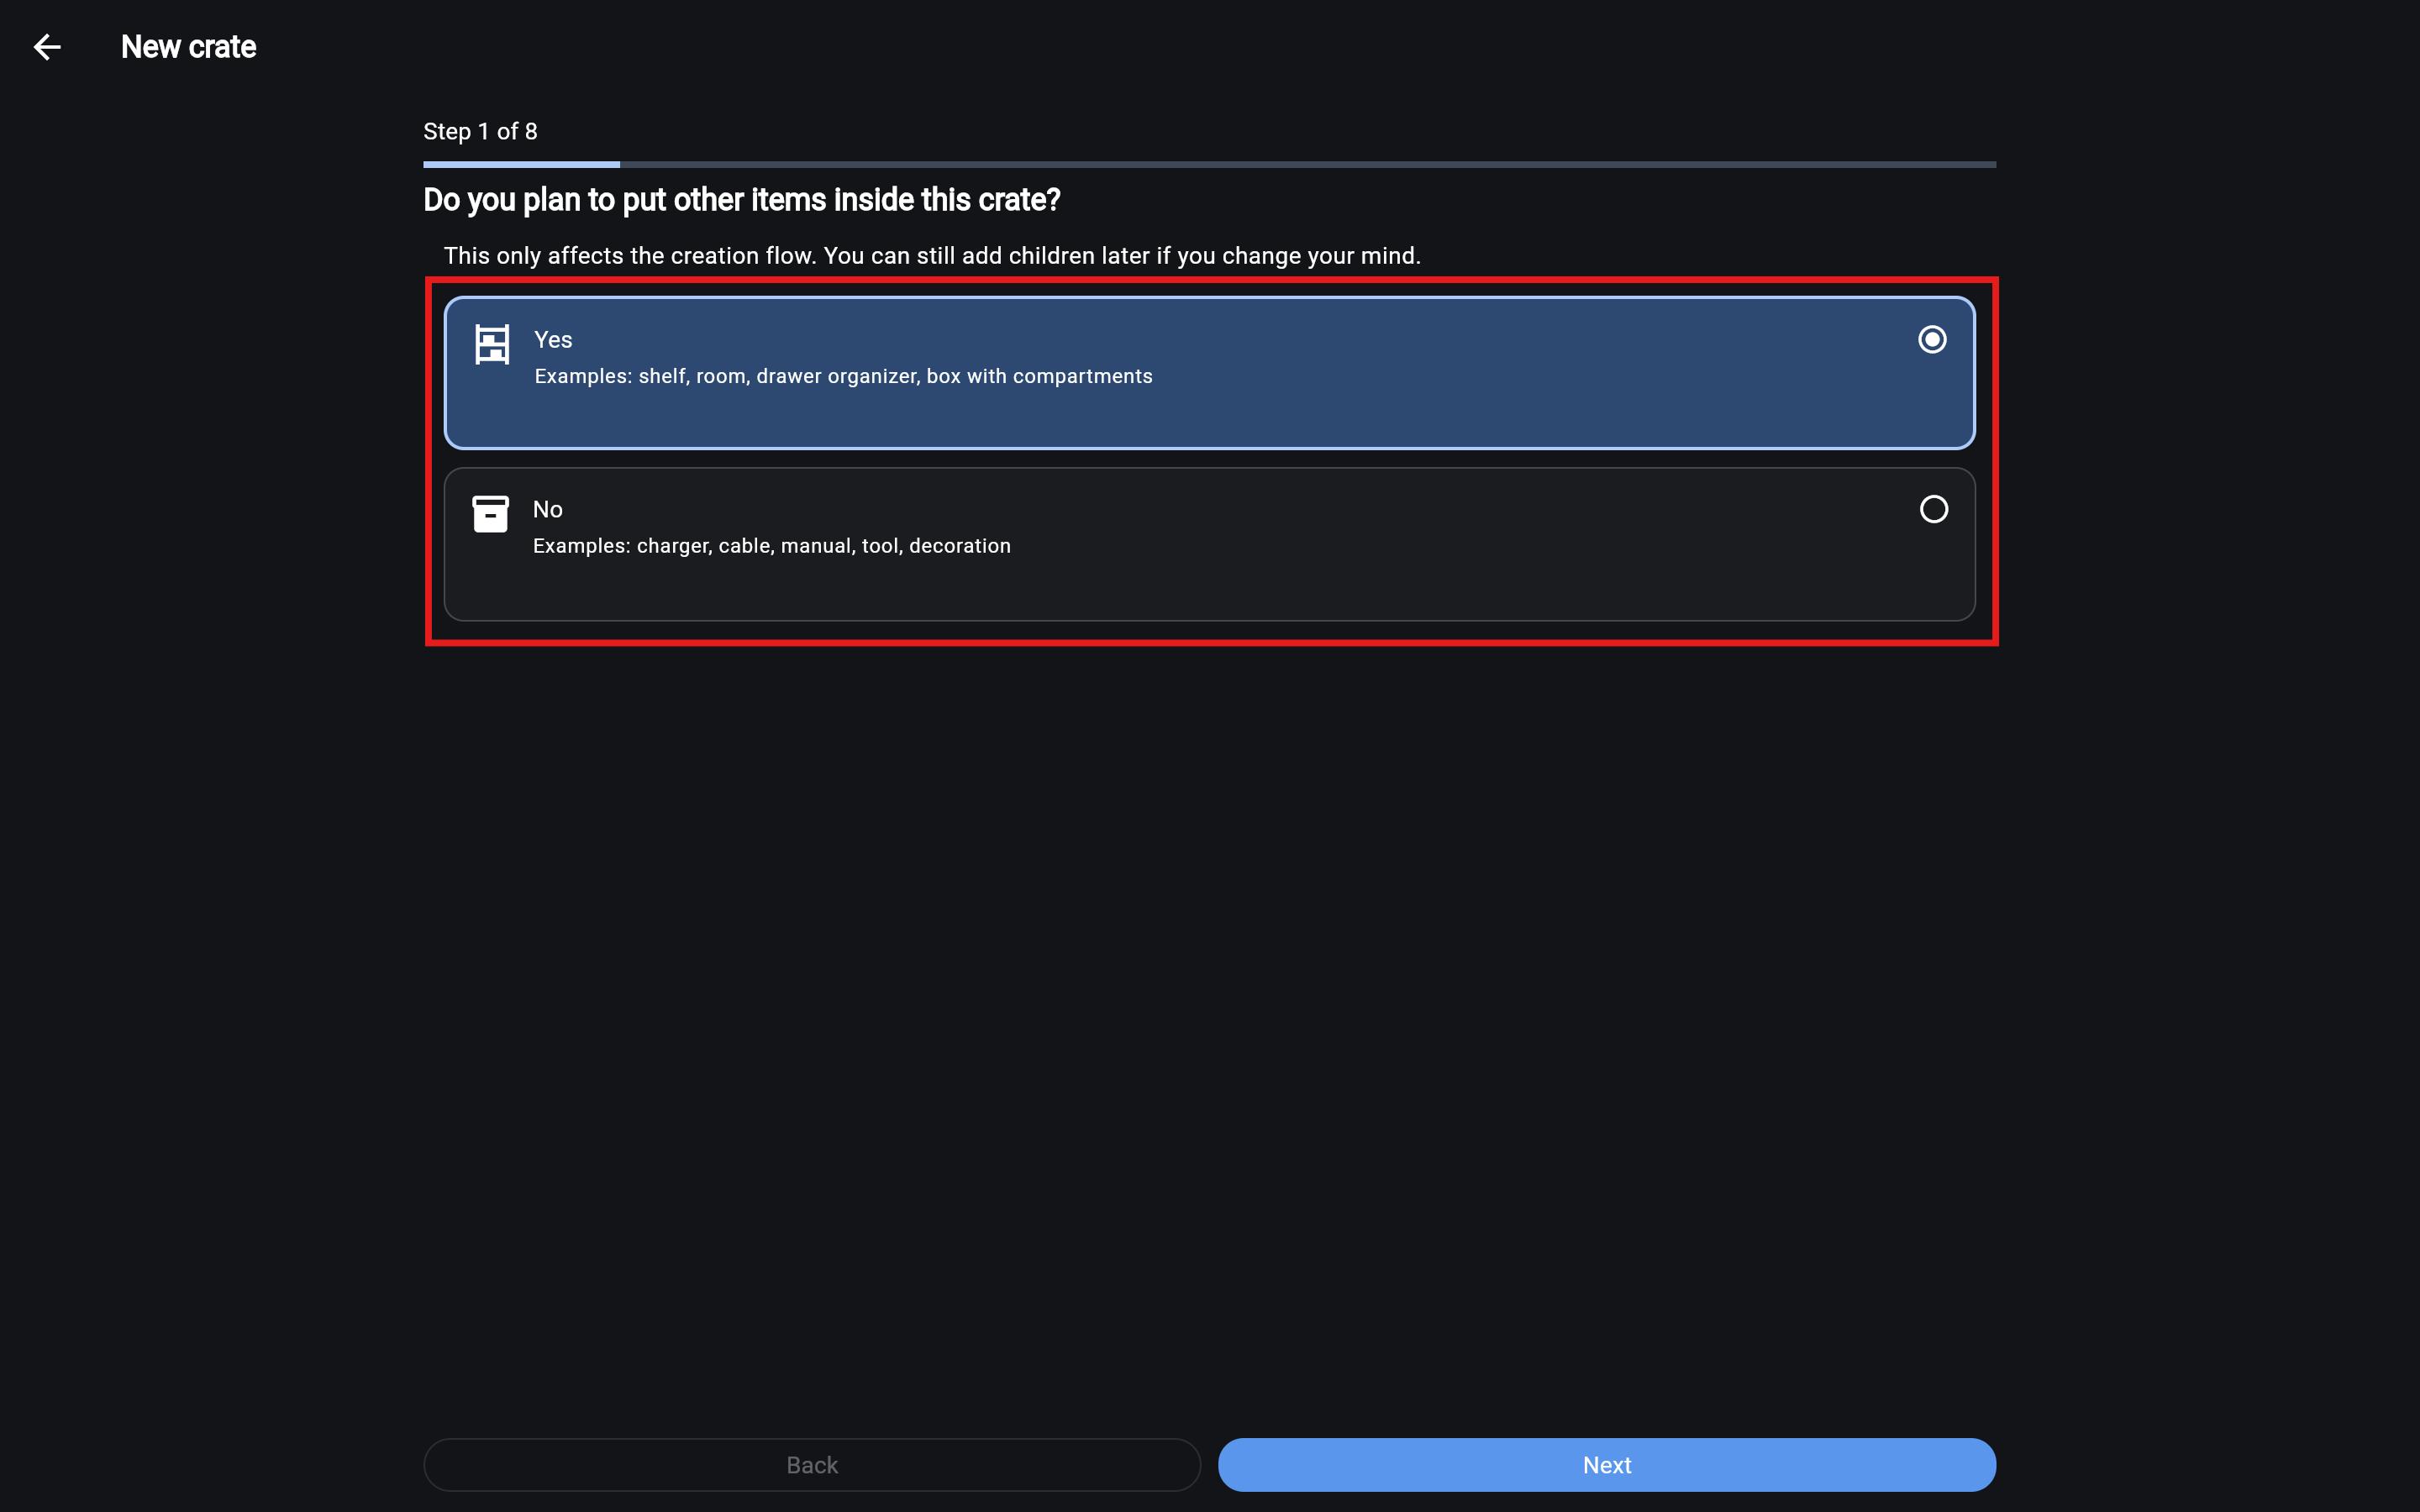
Step 1: Select the crate purpose
While every crate works the same way, the wizard asks a question to provide sensible defaults:
"Will this crate contain other items?" 1. YES (Default): Choose this if you are creating a room, shelf, box, or anything that will hold other things. 2. NO: Choose this if you are creating an end-item, like a single tool or a box of loose cables that you won't subdivide further.
Step 2: Choose a name
Enter the name displayed in the inventory.
Step 3: Add a description and keywords
Add a description and keywords to make the crate easier to find via search.
Step 4: Enter a placement code segment
Enter the unique segment for this crate. It will be appended to the parent's code to form the full placement code.
For example, if the parent is A-1 and you enter CA, the new crate's full code will be A-1-CA.
Step 4: Choose an icon
Select the icon to represent this item in the inventory lists.
Step 5: Mark the position
If the parent crate has a map image, you will be asked to mark this new crate's position on that map.
Draw a boundary around where this crate is located.
Step 6: Choose a layout for children
Since this crate will hold other items, choose how those items should be arranged: Freely (using a map image) or in a Grid (using a generated grid). See Maps & Layouts for details.
If you choose Free Layout, you will be asked to upload a map image (like a photo of an open box or a floor plan) so that future child crates can mark their locations on it.
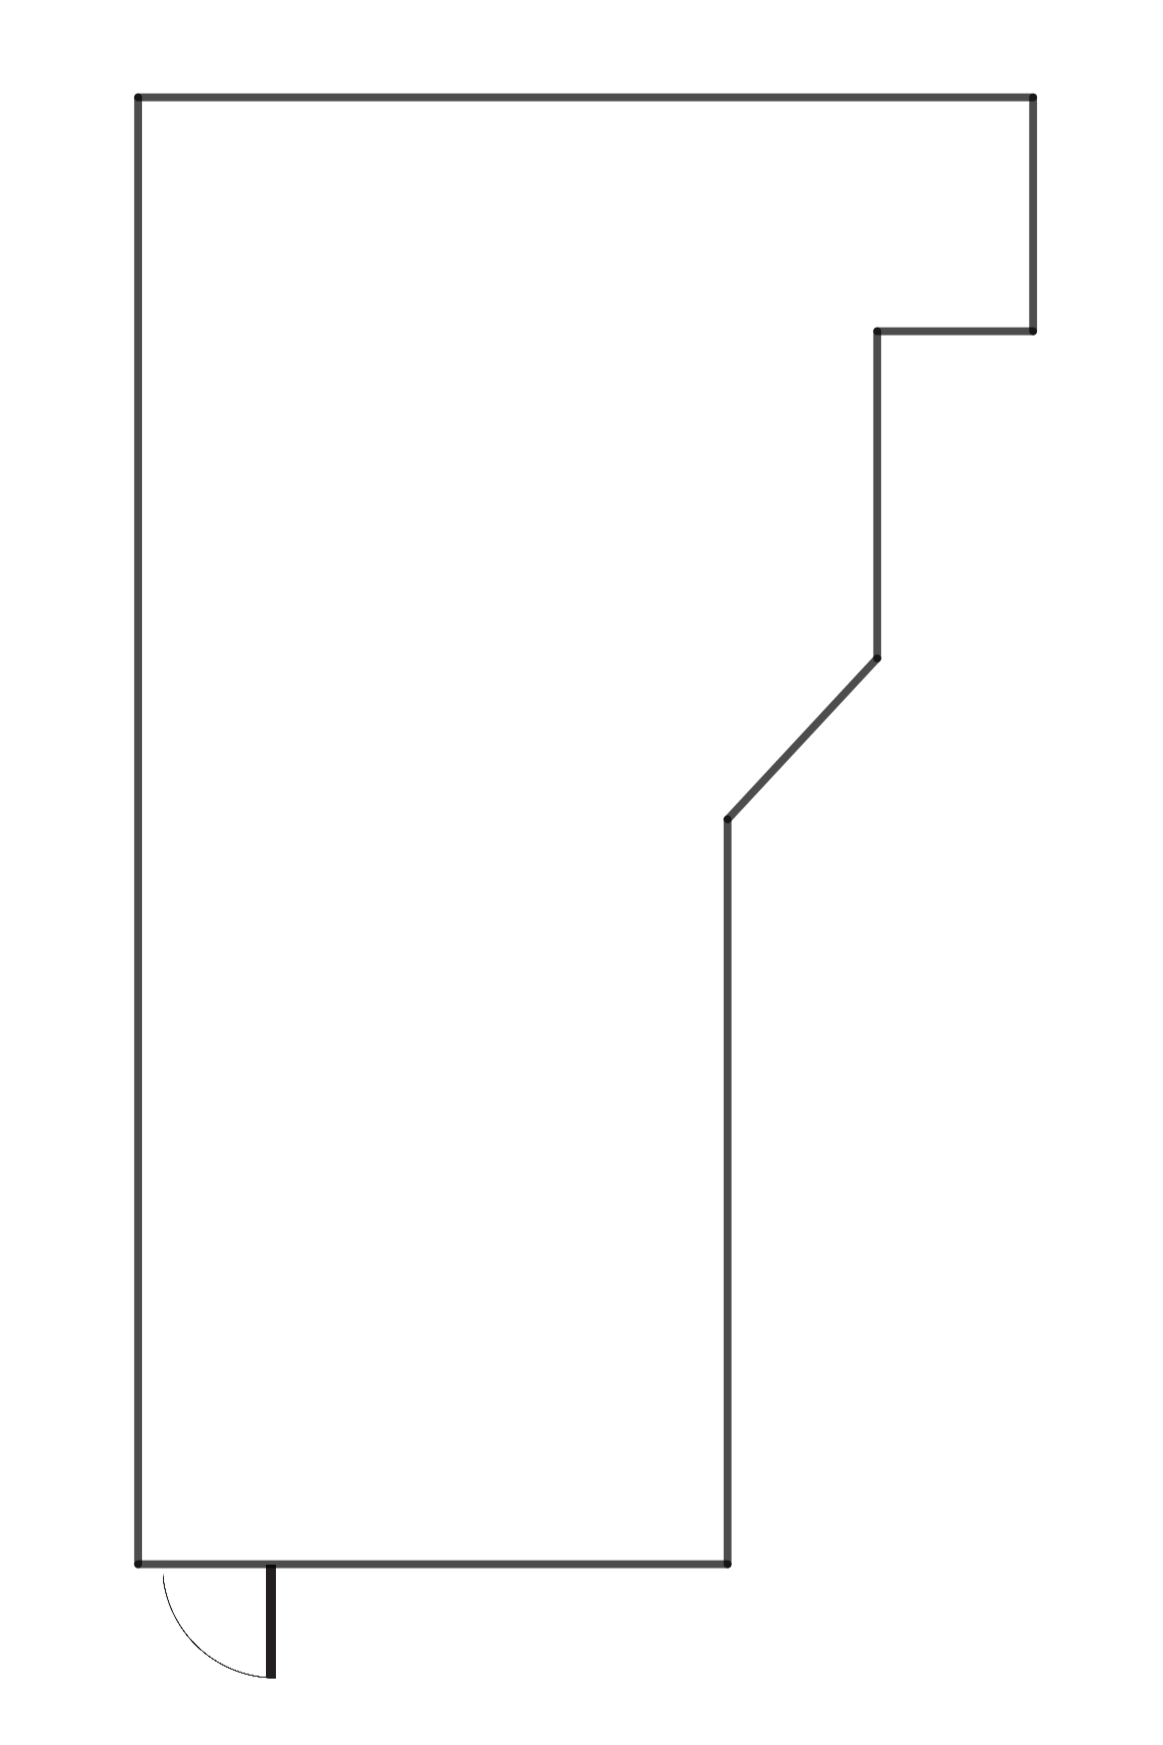
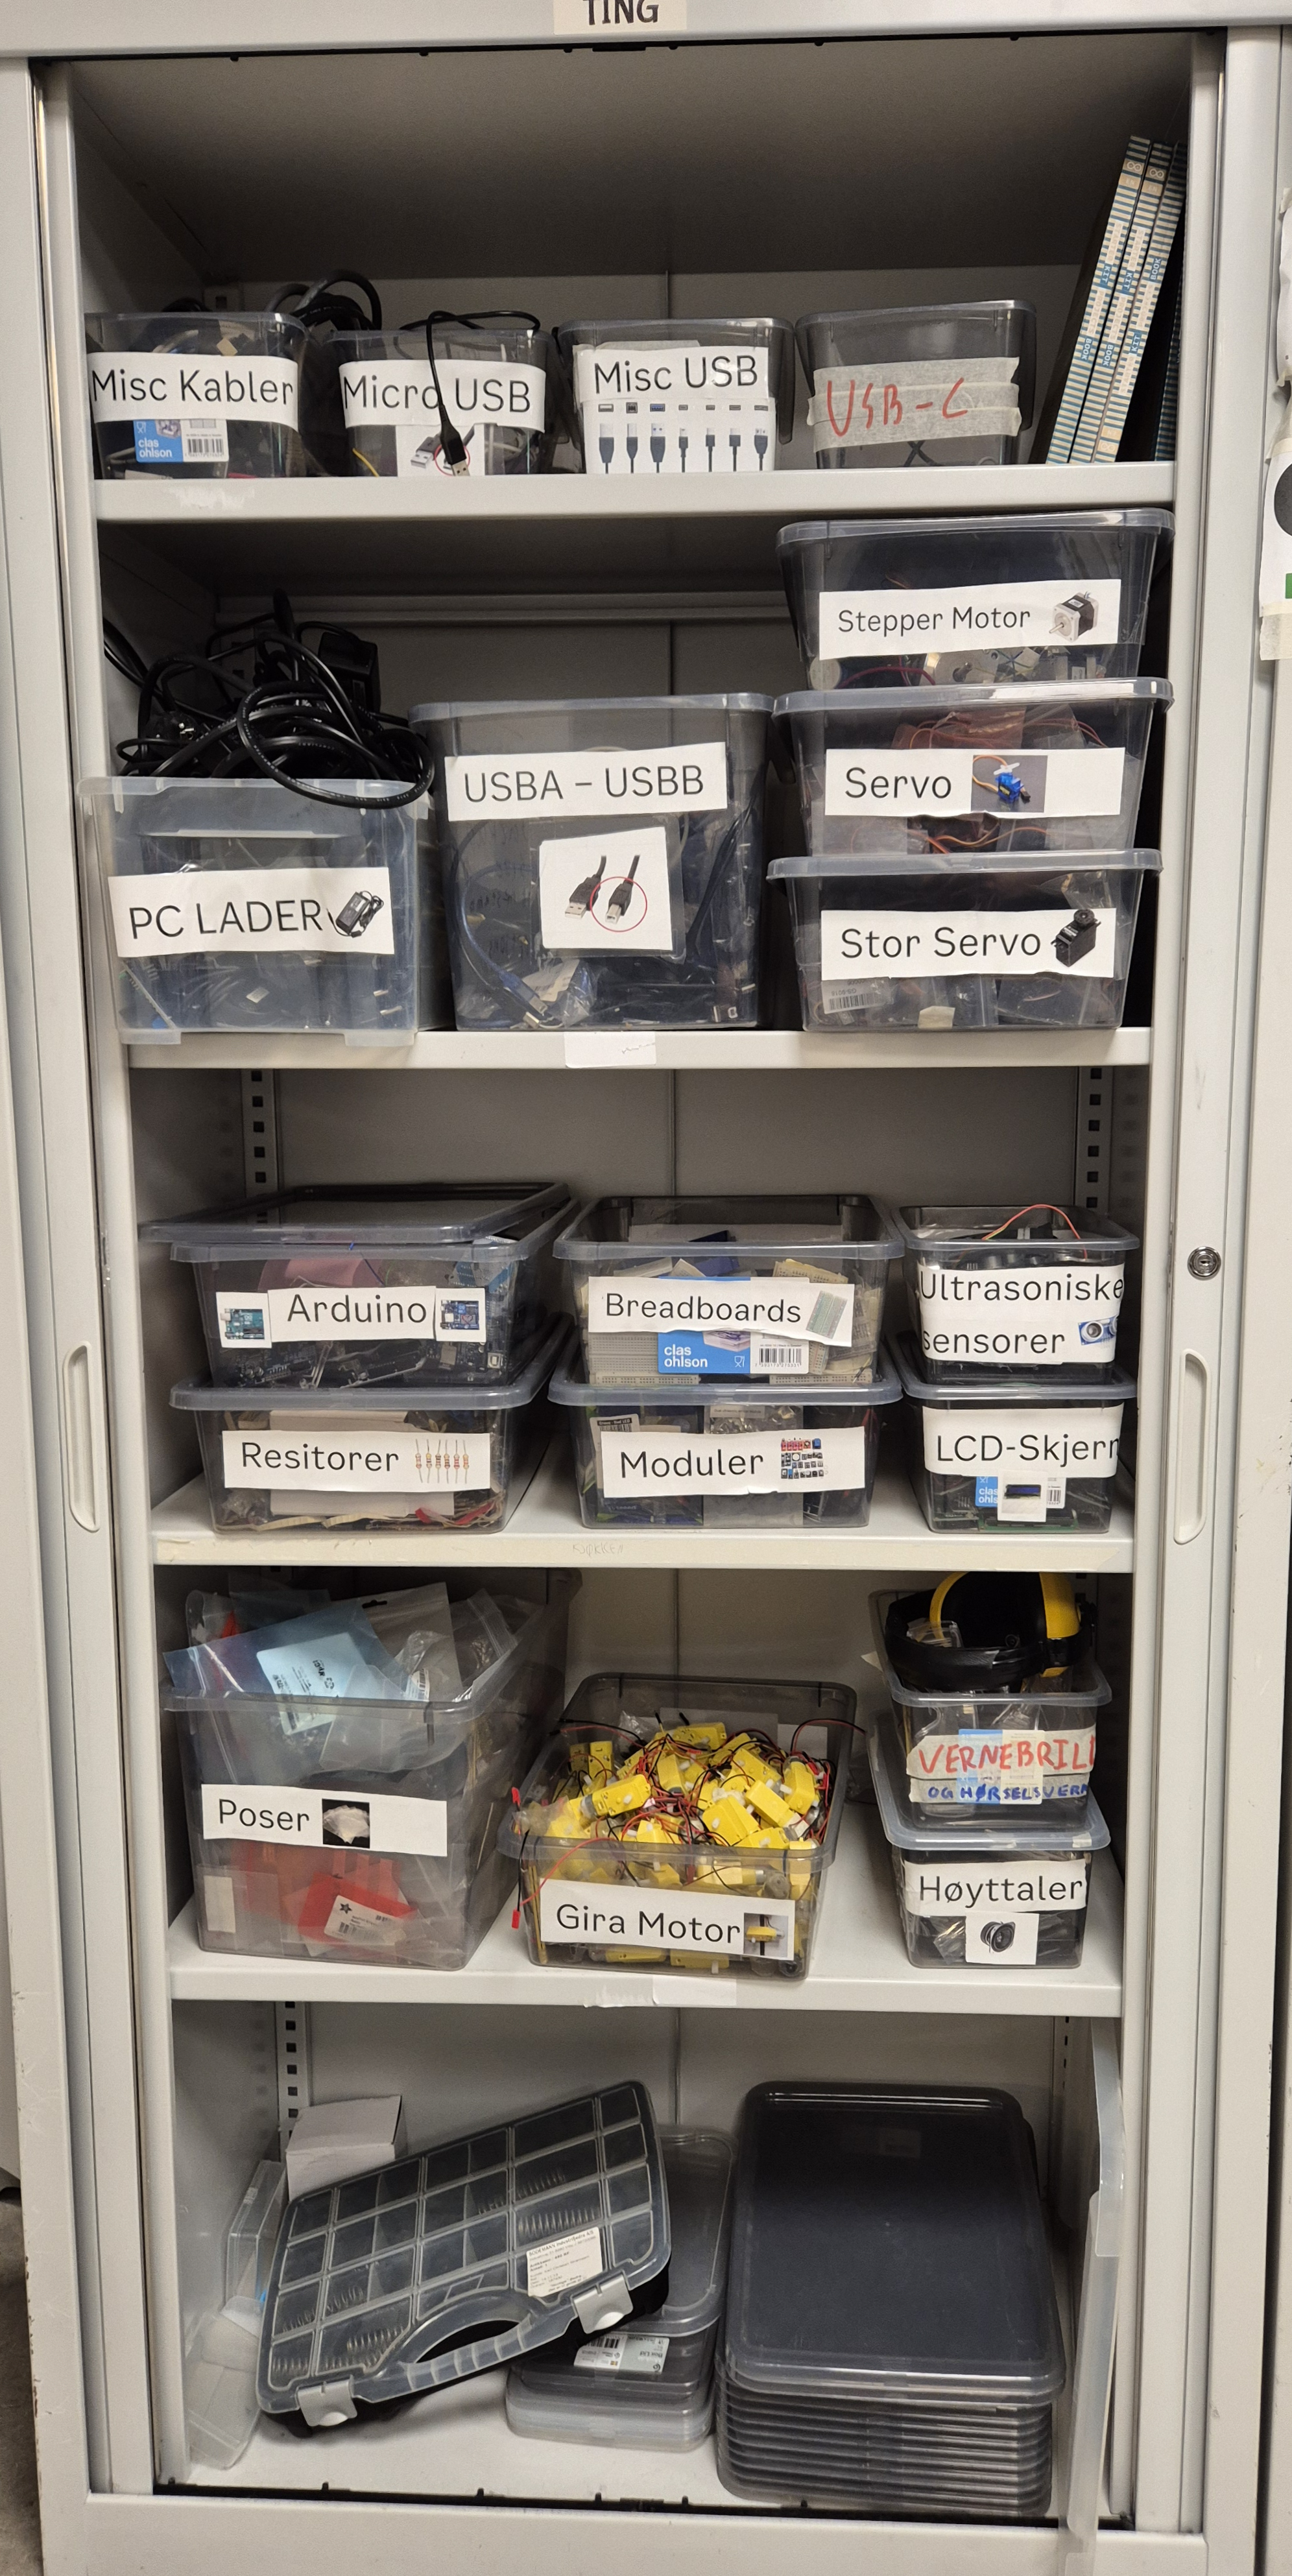
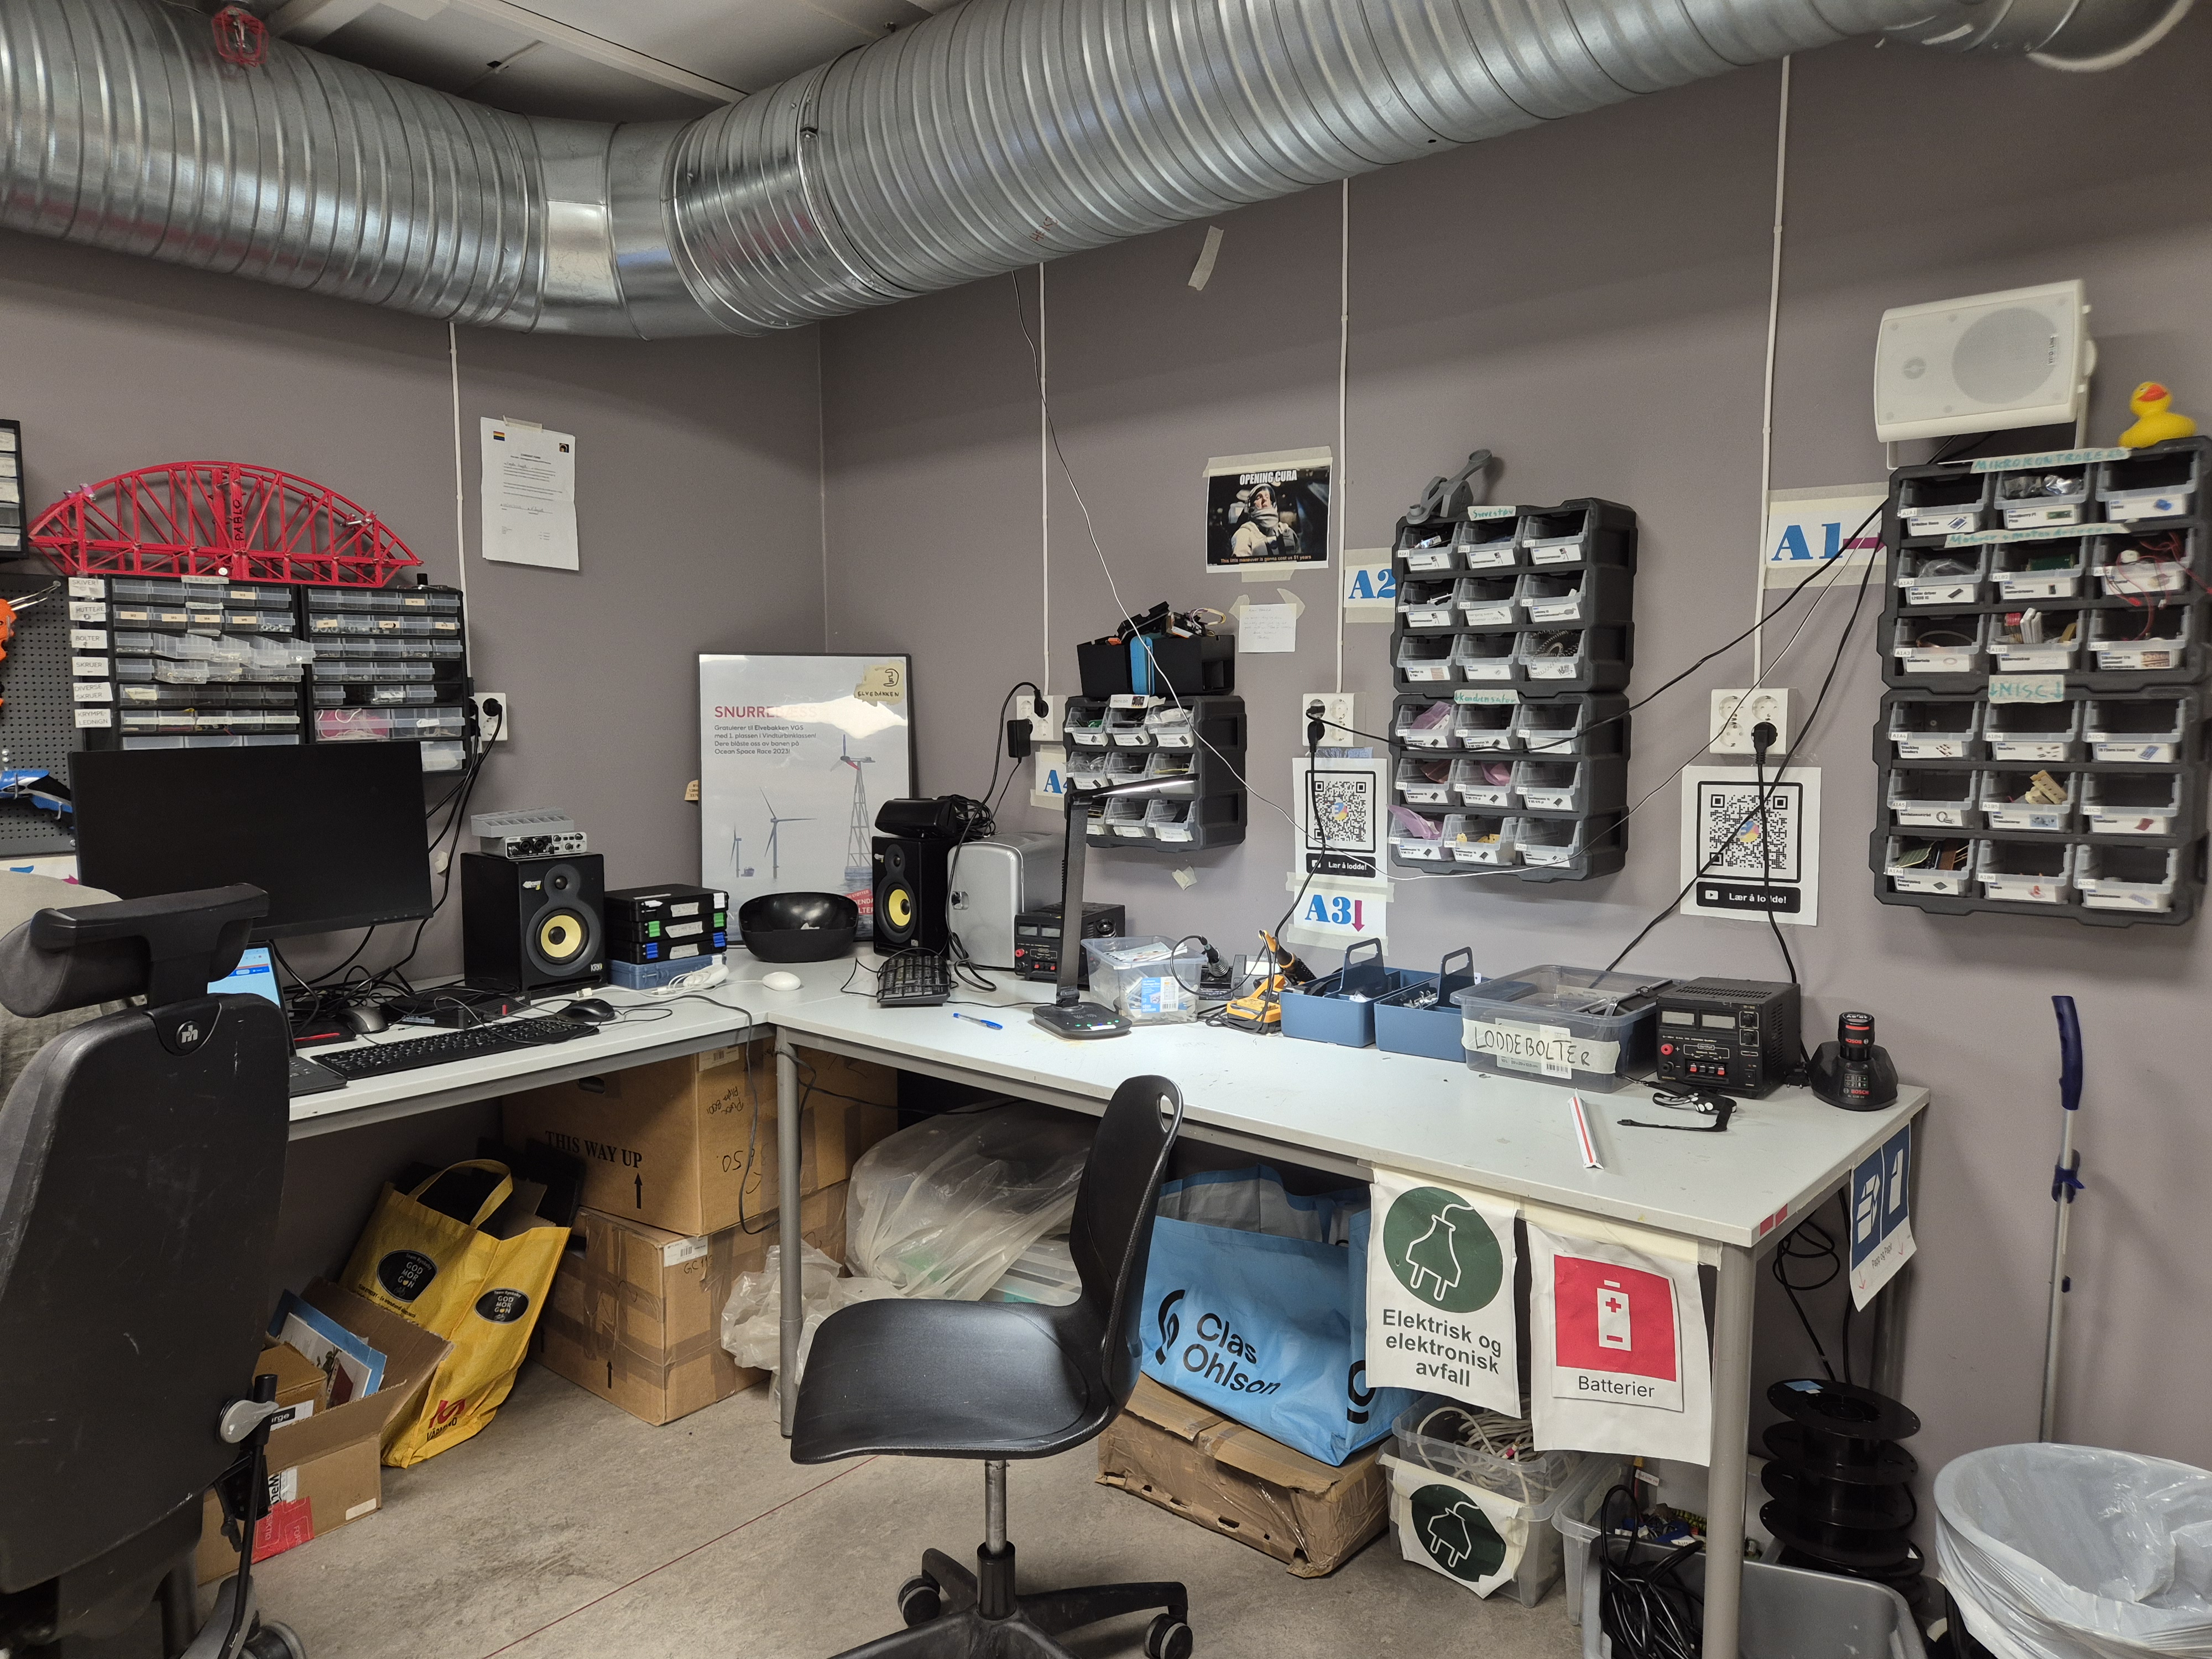
If you choose Grid Layout, you will be asked to specify the number of rows and columns to generate the grid.
(There is no layout step since this item will not contain any children.)
Final step: Review and create
Review the information you entered. When everything is correct, click Create crate.